
Gluten Free Sourdough Guide

In this guide we will share what we know about gluten free sourdough and go through a GF starter, GF Levain, and GF sourdough recipe step-by-step. The original recipes for both were developed by Mary Thompson, who has been a wonderful resource to us at the Anita’s test kitchen for all things gluten free! Thanks Mary!
What is (gluten free) sourdough?
Sourdough is bread or other baking that results from a natural process of leavening - it uses a culture of wild yeast and bacteria instead of commercial yeast. Although people probably didn’t know a lot if anything at all about Celiac disease until the early 1900’s, regular gluten-filled sourdough is the oldest form of leavened bread dating back thousands of years. But it’s not just for bread: sourdough can be used to make any number of gluten-filled or gluten-free baked goods such as waffles, crackers, muffins, cakes, and more.
Sourdough bread and baked goods are not necessarily sour! To avoid this misconception, many bakers prefer the terms naturally leavened, pain au levain, or levain. It is the bakers themselves who control the degree of sourness, by the way they maintain the sourdough culture and by the methods they use to create the bread. Which we will talk more about in the rest of the guide.
How long does it take to make sourdough?
Making any sourdough, let alone gluten free sourdough can seem like a daunting process, especially if you have never tried your hand at it! The great secret to making gluten free sourdough is that the same concepts as making glutenous sourdough apply! The main difference is that without gluten, it is a little trickier to encourage a good amount of rise out of the dough to make a gluten free loaf with an amazing crumb. The good news is that with some practice and trial and error it can be done!
Essentially, there are three main parts to this whole process: the starter, the levain, and the sourdough. The starter and levain both refer to the same type of natural fermentation that occurs over time when mixing flour and water. This is what will serve as the sourdough bread’s leavening agent that will create that beautiful crumb. Here is the approximate time you can expect each of these steps to take:
Starter: 6-10 days
Levain: 1 day
Sourdough: 1 day

Essential equipment
Although there are all kinds of tools and equipment that can be very useful in the whole process of making sourdough, there are really only a few absolutely essential items you’ll need to get started:
Lame, or razor blade for scoring
Dutch oven with a lid, a loaf tin, or a large casserole dish with a tight fitting lid
X2 glass jars (at least 950ml each) with a lid, or a jar with piece of fabric and rubber band for a make-shift lid.
Digital scale
Non-stick flour sack or towel
Banneton basket, or a flour-dusted dish towel in a bowl
Clean spoons (wood or metal is fine)
The benefits of sourdough
Sourdough does much more than make bread rise. The bacteria in the sourdough feed off of the flour and create lactic and acetic acids as a by-product. These are what create the characteristic sourdough flavour, but that’s not all they do. One great benefit of these acids is a naturally longer shelf life. Sourdough breads will last much longer than homemade yeasted breads before staling or becoming mouldy. Another benefit to sourdough is that the extra time the sourdough process takes allows for the microorganisms and natural enzymes in the dough to make it more easily digestible and nutritious.
Creating a sourdough culture
It’s easy to make a gluten free sourdough starter and similar to growing a glutenous sourdough starter. The process of creating a sourdough culture is surrounded by mystery and myth. In fact, it is a relatively simple process and requires nothing more than flour, water and time. Creating a healthy sourdough culture usually takes 5-7 days. Flour naturally contains the wild yeasts and bacteria you need, and your job in creating a culture is to simply cultivate them and encourage them to grow. Different bakers use different terms for their sourdough culture. For example, you might come across the terms leaven, levain, mother, chef, lievito madre, but they all refer to the sourdough culture.
Three things to consider when creating a sourdough culture
FLOUR: organic flour naturally contains more microorganisms and is a good choice for starting your culture. Whole grain flours have a higher mineral content and tend to ferment more quickly than white flours when beginning a culture. Whole grain rye flour has a high mineral content and natural flora and will also help to speed up the process. For this gluten free sourdough recipe, I have found that the Anita’s Organic Gluten Free All Purpose flour works well on it’s own, but with other recipes I have also had success with using two types of flour like the Anita’s Organic Gluten Free All Purpose flour along with the Anita’s Organic Brown Rice flour.
TEMPERATURE: Room temperature is the best place to start and a little warmer or hotter than that shouldn’t harm your starter. However, the ideal temperature to start a sourdough culture is between 27 and 30 degrees c. A warm spot such as the oven with the light on, on top of the fridge, or in a cooler with a bottle of hot water are good options. If you can’t find a location in your house to maintain this temperature, it doesn’t mean you shouldn’t go ahead, it just means the process will move along more slowly. It is important to note that too much heat will kill your starter. Yeast dies at 60 degrees Celsius so be careful that where ever you have your starter, it isn’t getting that hot.
WASTE: You can build your sourdough culture with no waste and maintain it with minimal waste by keeping it small. Once the culture is mature and healthy, use discarded starter in your waffles, pancakes, quick breads, etc. The culture adds a great flavour!
Frequently asked questions before you begin
Q: Is there a way to minimize discard? I don’t like the idea of throwing away flour!
A: Absolutely! There are several minimal-waste/no-discard methods for making sourdough. Wayne Caddy is a baker who developed the no-discard method and has a great youtube channel called “Sourdough Slingers” that explains this concept more in depth. The main idea is that although the maintenance of the sourdough starter will inevitable create some waste, the creation of the starter should not. Rather than viewing this as “waste”, view it as “extra” to be stored in your fridge to use in other baking.
Q: When i go away and leave my starter in my fridge, it often gets mold. How can i avoid that?
A: When storing your starter in the fridge keep the jar tightly sealed, not loose fitting like when it is on the counter working on getting activated. Another thing to consider is when you are transferring your starter to the jar in the fridge, make sure your utensils are clean. I have dedicated sourdough utensils and jars that don’t get used for anything else. Although it is not absolutely necessary, i like to disinfect with a solution of 1:1 boiling water and vinegar in between uses.
Q: Can I use a metal container and metal spoon for my starter and levain?
A: Stainless steel is technically harmless, and overall metal won’t necessarily kill your starter or levain. However, we don’t recommend using metals like aluminum or copper as they are technically reactive and may not encourage growth.
Q: How do you know when your starter is ready to bake with?
A: Your sourdough starter will be ready to start using once it’s increasing in size, rising up into a dome after feeding and has a lot of bubbles. Wait about a week for the yeast to grow strong, otherwise your bread will not rise.
Q: Do you expect the GF starters/levains to double in size?
A: Sometimes! However, mine don’t always double in size. So don’t be discouraged if your starters/levains don’t rise as much as you were hoping at first! If that happens, the bread may surprise you and turn out better than you’re expecting. I have make some excellent bread from juts 30% rise in my levain and starter!
Q: Can you add all you discard to the same jar?
A: You can! Keep one jar for your discard and then use it up when you have enough for a recipe. Or keep it with a sealed lid on in the fridge for a few weeks. It will turn more sour over time so keep in mind what your preference is so you can plan when you want to use the discard.
Q: What is the clear liquid that pools at the top of my starter?
A: The clear liquid is known as hooch (natural alcohol). This liquid is a sign that your starter is hungry and needs to be fed. Some people stir it in, but i prefer to pour it off before i feed my starter. I personally don’t like the taste or smell, but that’s entirely a personal preference thing from one individual to another. Keeping or pouring this liquid off will not prevent or progress your starter from rising.
Q: How can I tell if my starter has gone bad?
A: If your starter is neglected for an extended period of time the hooch liquid that forms on the top tends to go from being clear to a dark colour. This surprisingly doesn’t mean the starter has gone bad, but it is an indication that if you don’t feed it consistently enough it will go from the clear liquid to a darker colour, then eventually to a pink or orange tint or streaks, or even mold. In that case you will unfortunately need to throw it out and begin again.
Q: I am very consistent with my starter but even after a month of feeding i rarely get any bubbles. What can i do differently?
A: Try a different type of flour or even a combination of different flours. The most active starters i have had have been made using Anita’s Organic Gluten Free All Purpose Flour or a combination of that flour with the Anita’s Organic Gluten Free Brown Rice Flour. Also, try to use a little more water and less flour. Make sure it is non-chlorinated warm water. Make sure where you are keeping your starter is a warm enough environment of at least 22 degrees c, but ideally between 27 and 30 degrees c.
Q: 27 and 30 degrees Celsius is much warmer than the temperature i like to set my home to. Do you have any suggestions for this?
A: You can try placing your starter in an oven with the light on. The light bulb in an oven alone can emanate just enough heat to warm up that amount of space in the oven for your starter to grow. Just make sure you don’t accidentally turn the oven on while it is in there!
Q: How do i keep my starter jar clean? After a couple of feedings the sides have quite a bit of build up of starter.
A: It is easier to have two jars and put the called-for amount of starter into a clean jar along with the amount of flour you are feeding it that day. I also like to rinse my jars between use. Don’t use soap though as that may contaminate the starter.
Q: What are some signs that indicate my starter is working?
A: A few signs of a developing starter are, some clear liquid on the top (when it requires feeding), the aroma is mild and pleasant, a yeasty smell but not too sour, the sound of bubbles popping, evenly distributed bubbles, a light spongy look.
Q: How do you know how much water to use in the starter?
A: How much water is needed can differ from flour to flour. The more you make, the more you will start to go by the consistency of the starter rather than weighing out each feeding. For this Anita’s Organic All Purpose flour that we use for the starter and levain in this guide, I found it needed a little less water than other flours I have used. If you want to use the Anita’s Organic Brown Rice Flour in this starter and levain, I would recommend using a more water (50 g).
The starter
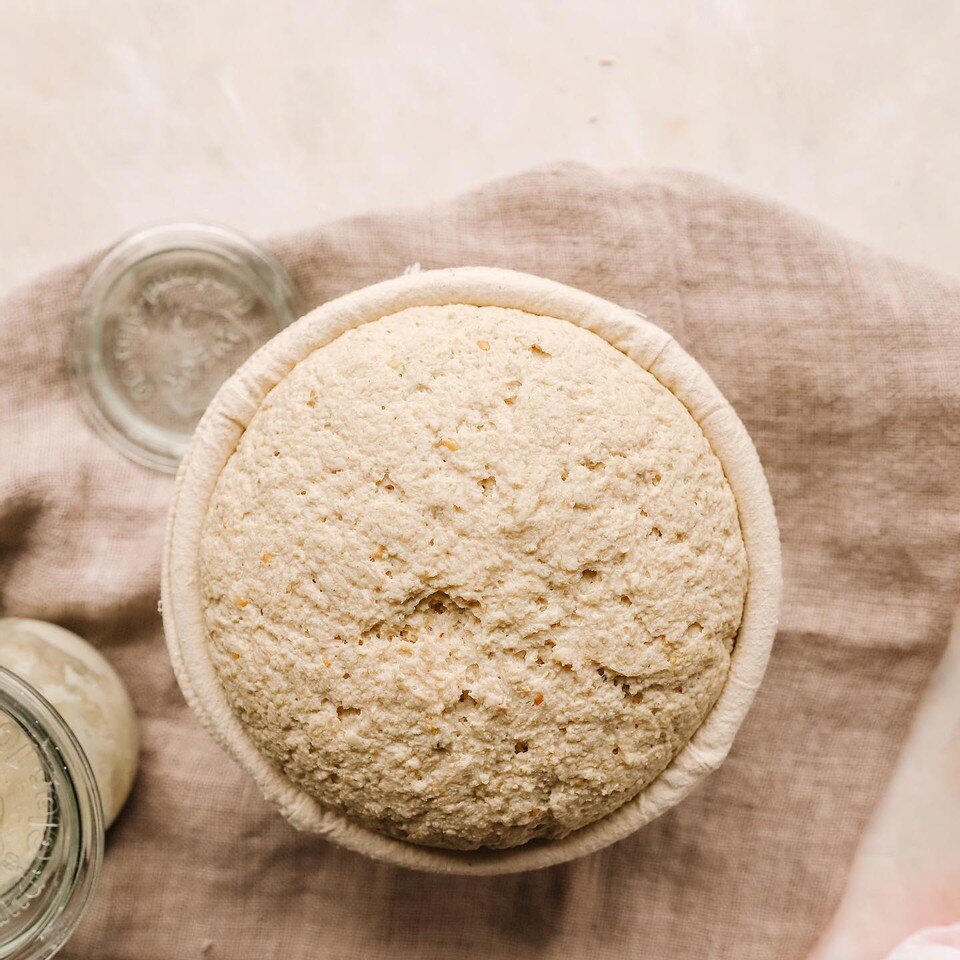
Growing the natural yeast in a sourdough starter takes anywhere from 6 - 10 days before it has enough strength to bake with. The starter is very forgiving, so if your mixture is looking too dry add a little more water. Or, if it is too wet and soupy, add a little more flour. Once your starter shows all the promising signs of activity and has increased in size then you are ready to mix some dough! Once the starter appears to be active and there is no liquid on the top, it is ready to use for the next stage.
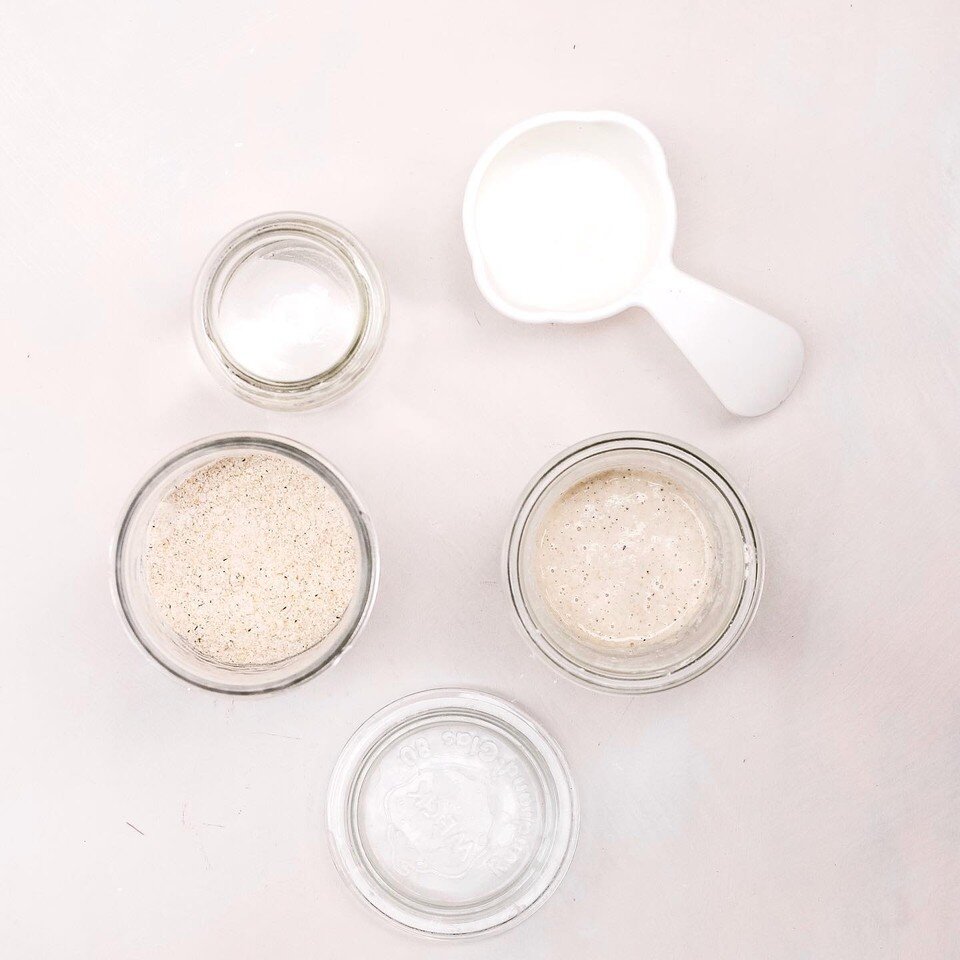
INGREDIENTS
160 g Anita’s Organic Gluten Free All Purpose Flour
130 g non-chlorinated warm water
INSTRUCTIONS
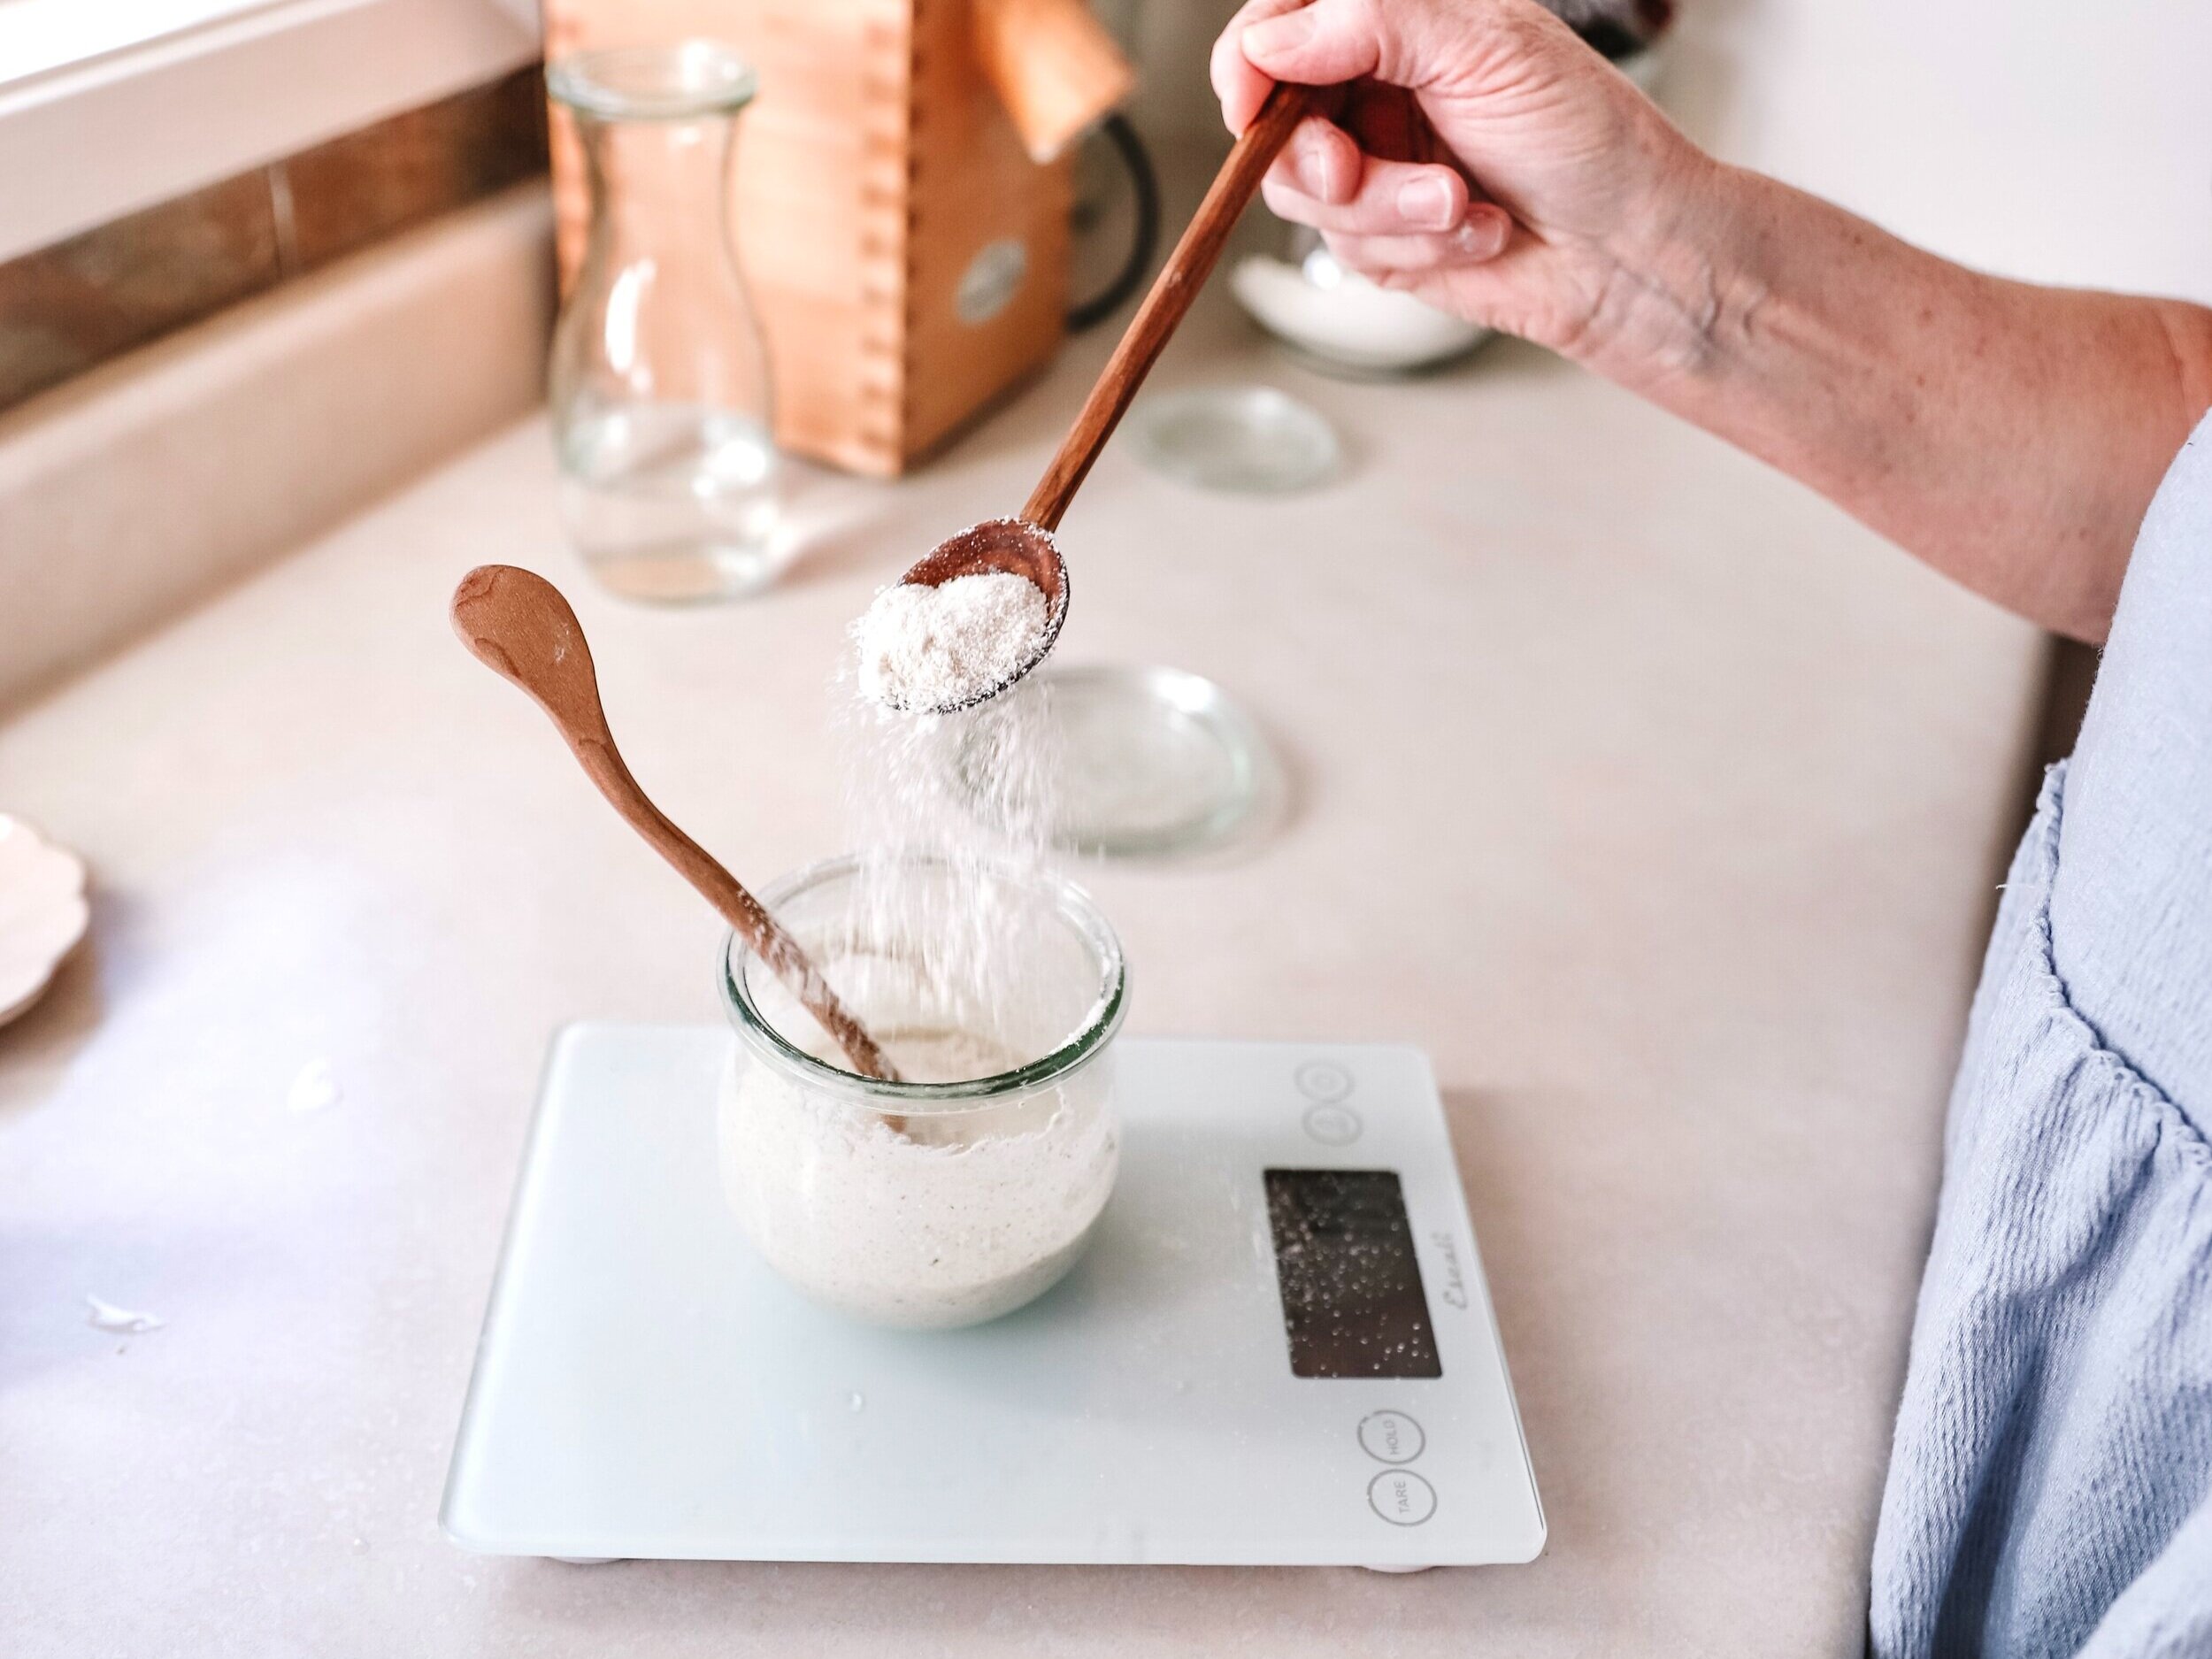
EVENING OF DAY 1: In a medium size clean jar, mix 40 g of flour with 40 g warm water and cover with a loose fitting lid or cloth.
MORNING OF DAY 2: Add 40 g flour and 30 g water to the jar from the day 1 mixture. No discarding any starter until signs of activity.
EVENING OF DAY 2: Add 40 g flour and 30 g water to the same jar from the previous feeds.
MORNING OF DAY 3 (THE FIRST DISCARD): Into a clean jar put 40 g of starter, 40 g of flour and 30 g of water. Throw away the rest of day 1 and day 2 starter (we will save the discard when it contains the good yeast after about a week). If your starter is showing signs of activity with small bubbles and liquid on top, it is ready to discard. If you don’t discard, you will end up with a huge amount of starter that you don’t need and it takes a lot more flour to feed. To do this, put 40 g of the starter into a clean jar and discard the rest. Add 40 g of flour and 30 g of water. Repeat this feeding routine twice a day until the starter rises and falls on a regular basis. At this stage if your house is a little cooler you may decide to feed your starter once a day. It will need feeding if it has a layer of liquid on the top or if it does start to rise and then falls again. The smell will be more sour when it is hungry.
WHAT TO EXPECT
MORNING/EVENING OF DAY 1 & 2: Don’t expect to see any activity at the point.
MORNING OF DAY 3: You may start seeing bubbles beginning to form, some clear liquid pooling on top, and a slight wet flour smell(pour out this liquid if you don’t like this smell as it can result in a more “sour” sourdough. This is up to personal preference).
EVENING OF DAY 3: Even more bubbles and clear liquid than earlier in the day, and the smell may begin to become somewhat sour (if it does, this is ok/normal).
MORNING OF DAY 4: More bubbles, more clear liquid, even stronger sour/yeasty smell.
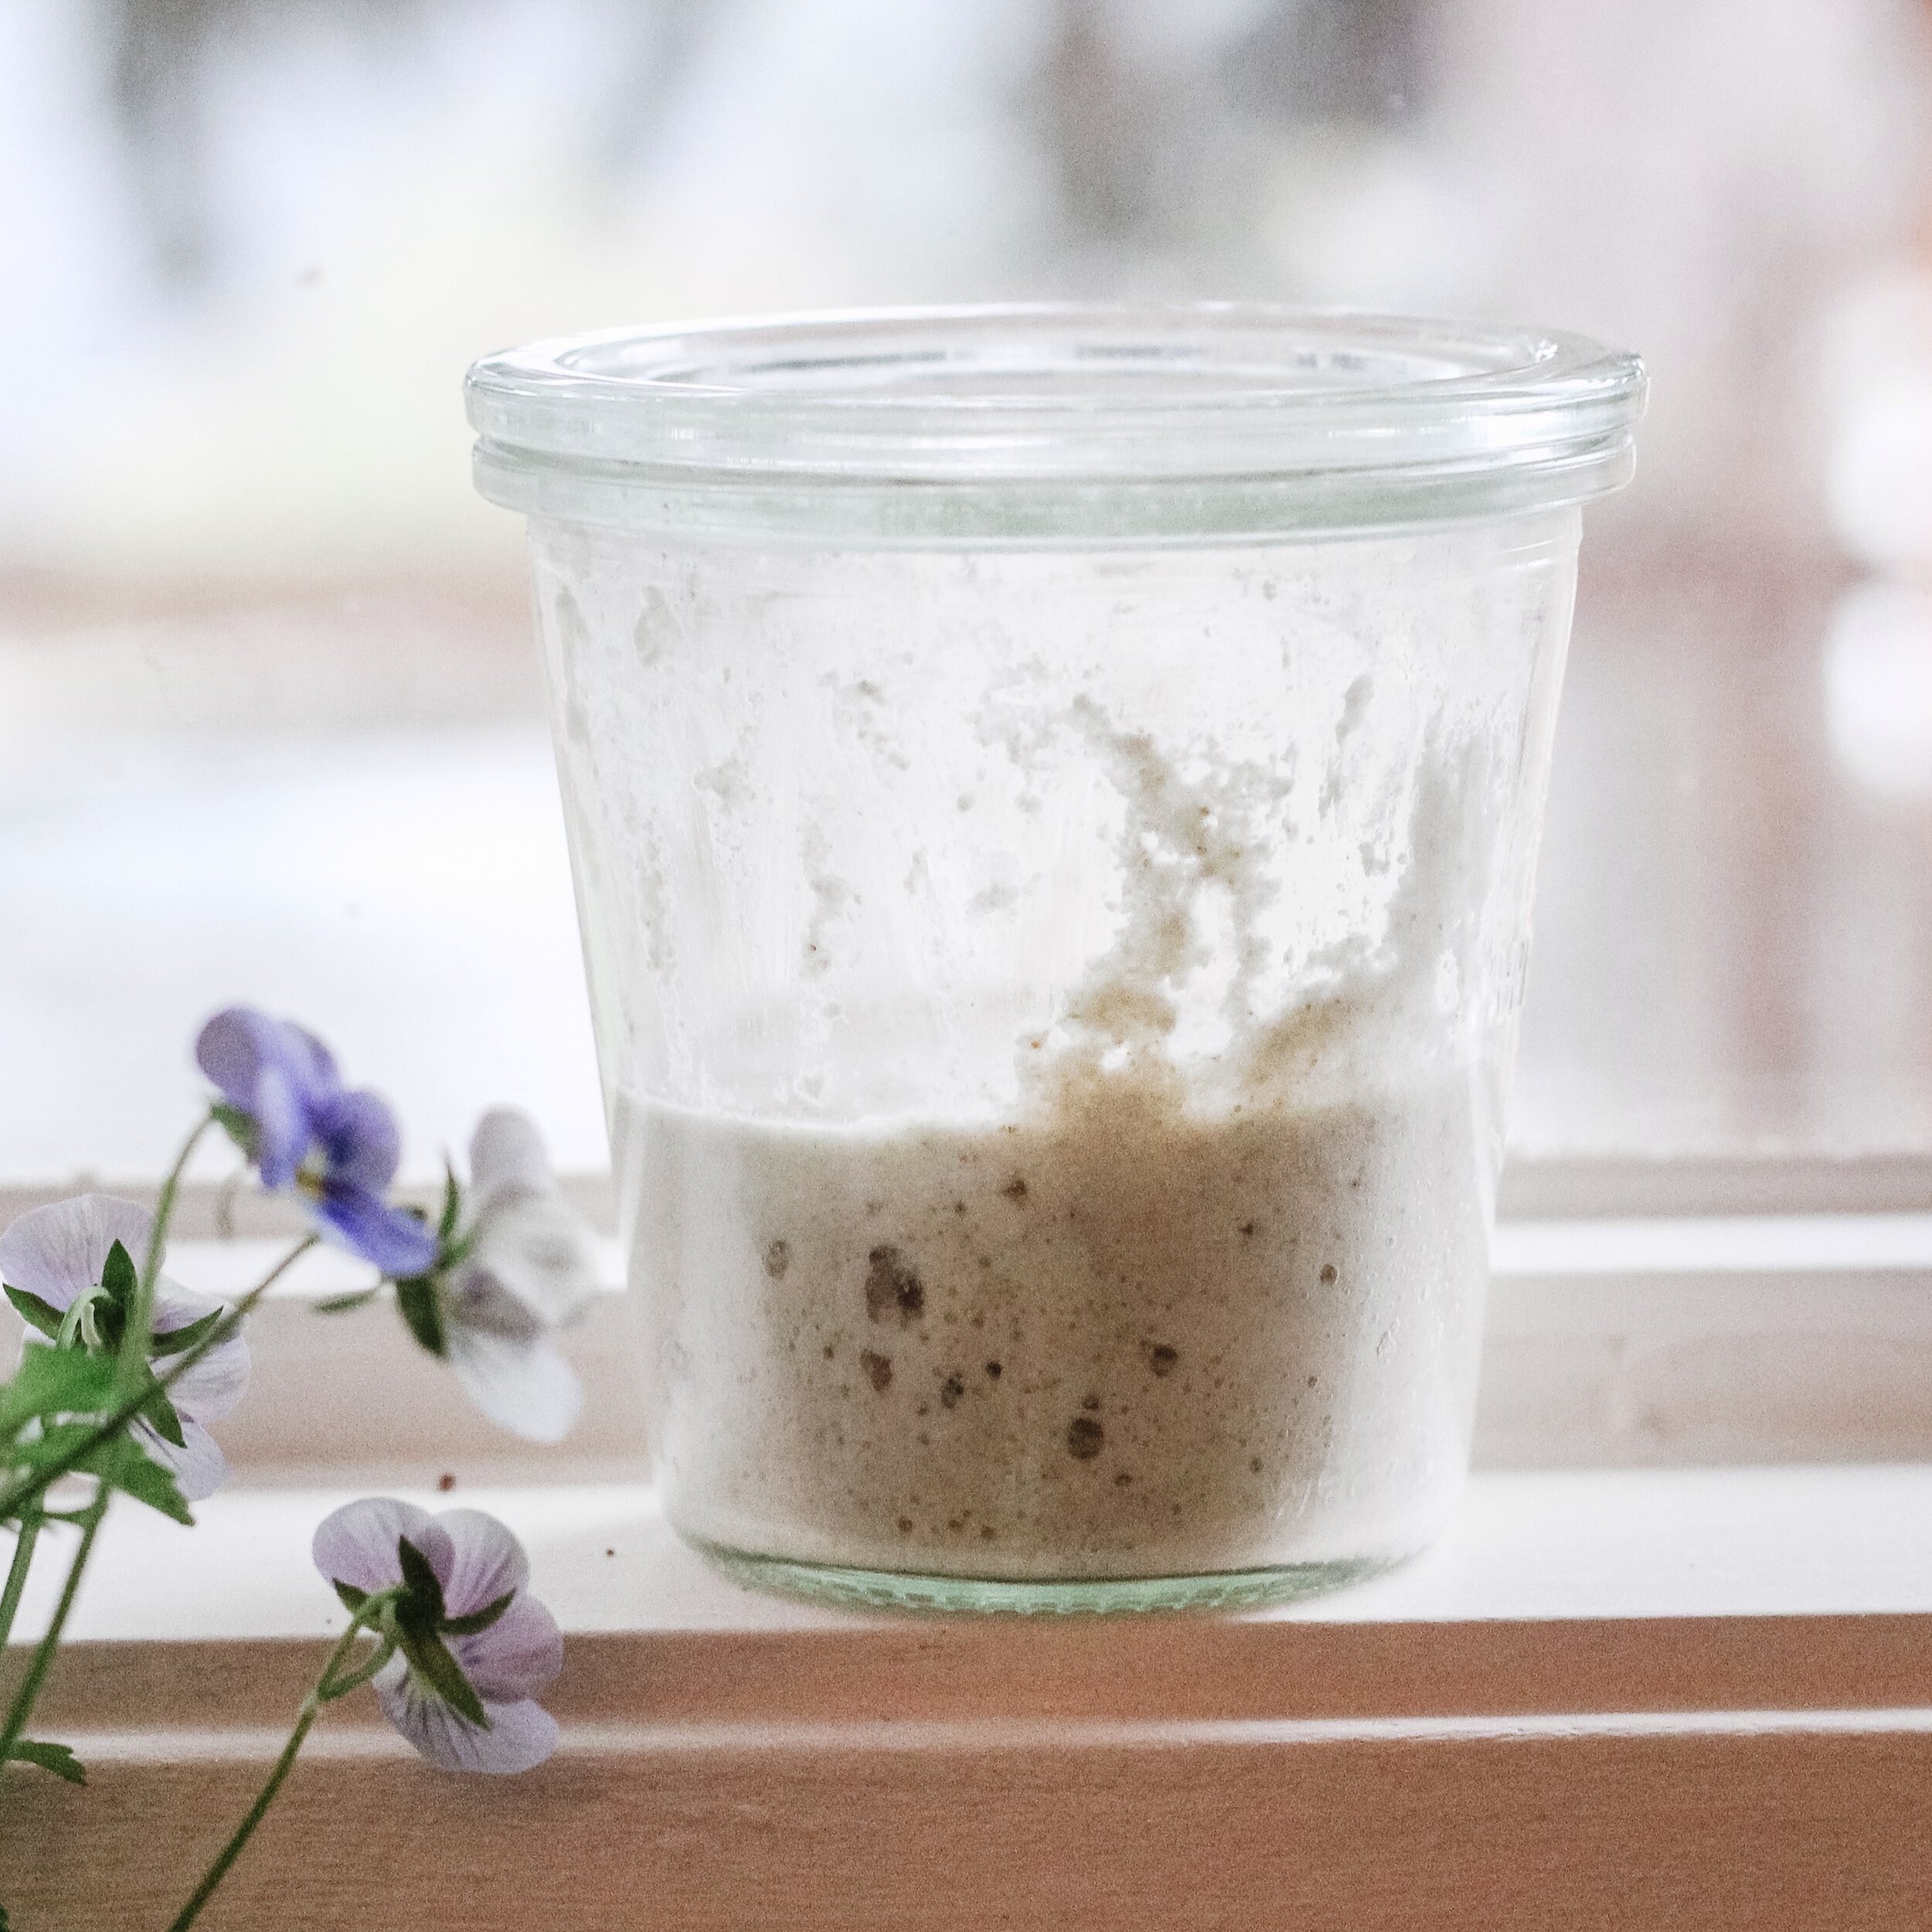
EVENING OF DAY 4: More bubbles, more clear liquid, the size of the starter could fill roughly half the jar at this point (if you started with a 950ml jar).
MORNING/EVENING OF DAY 5: Larger bubbles multiplying throughout jar, a small amount of clear liquid forming on top, the smell is better/less sour (if you have been pouring out the liquid). Consider adding an additional feeding if your starter is not as active as it should be. Feeding it some extra flour and water could help that along.
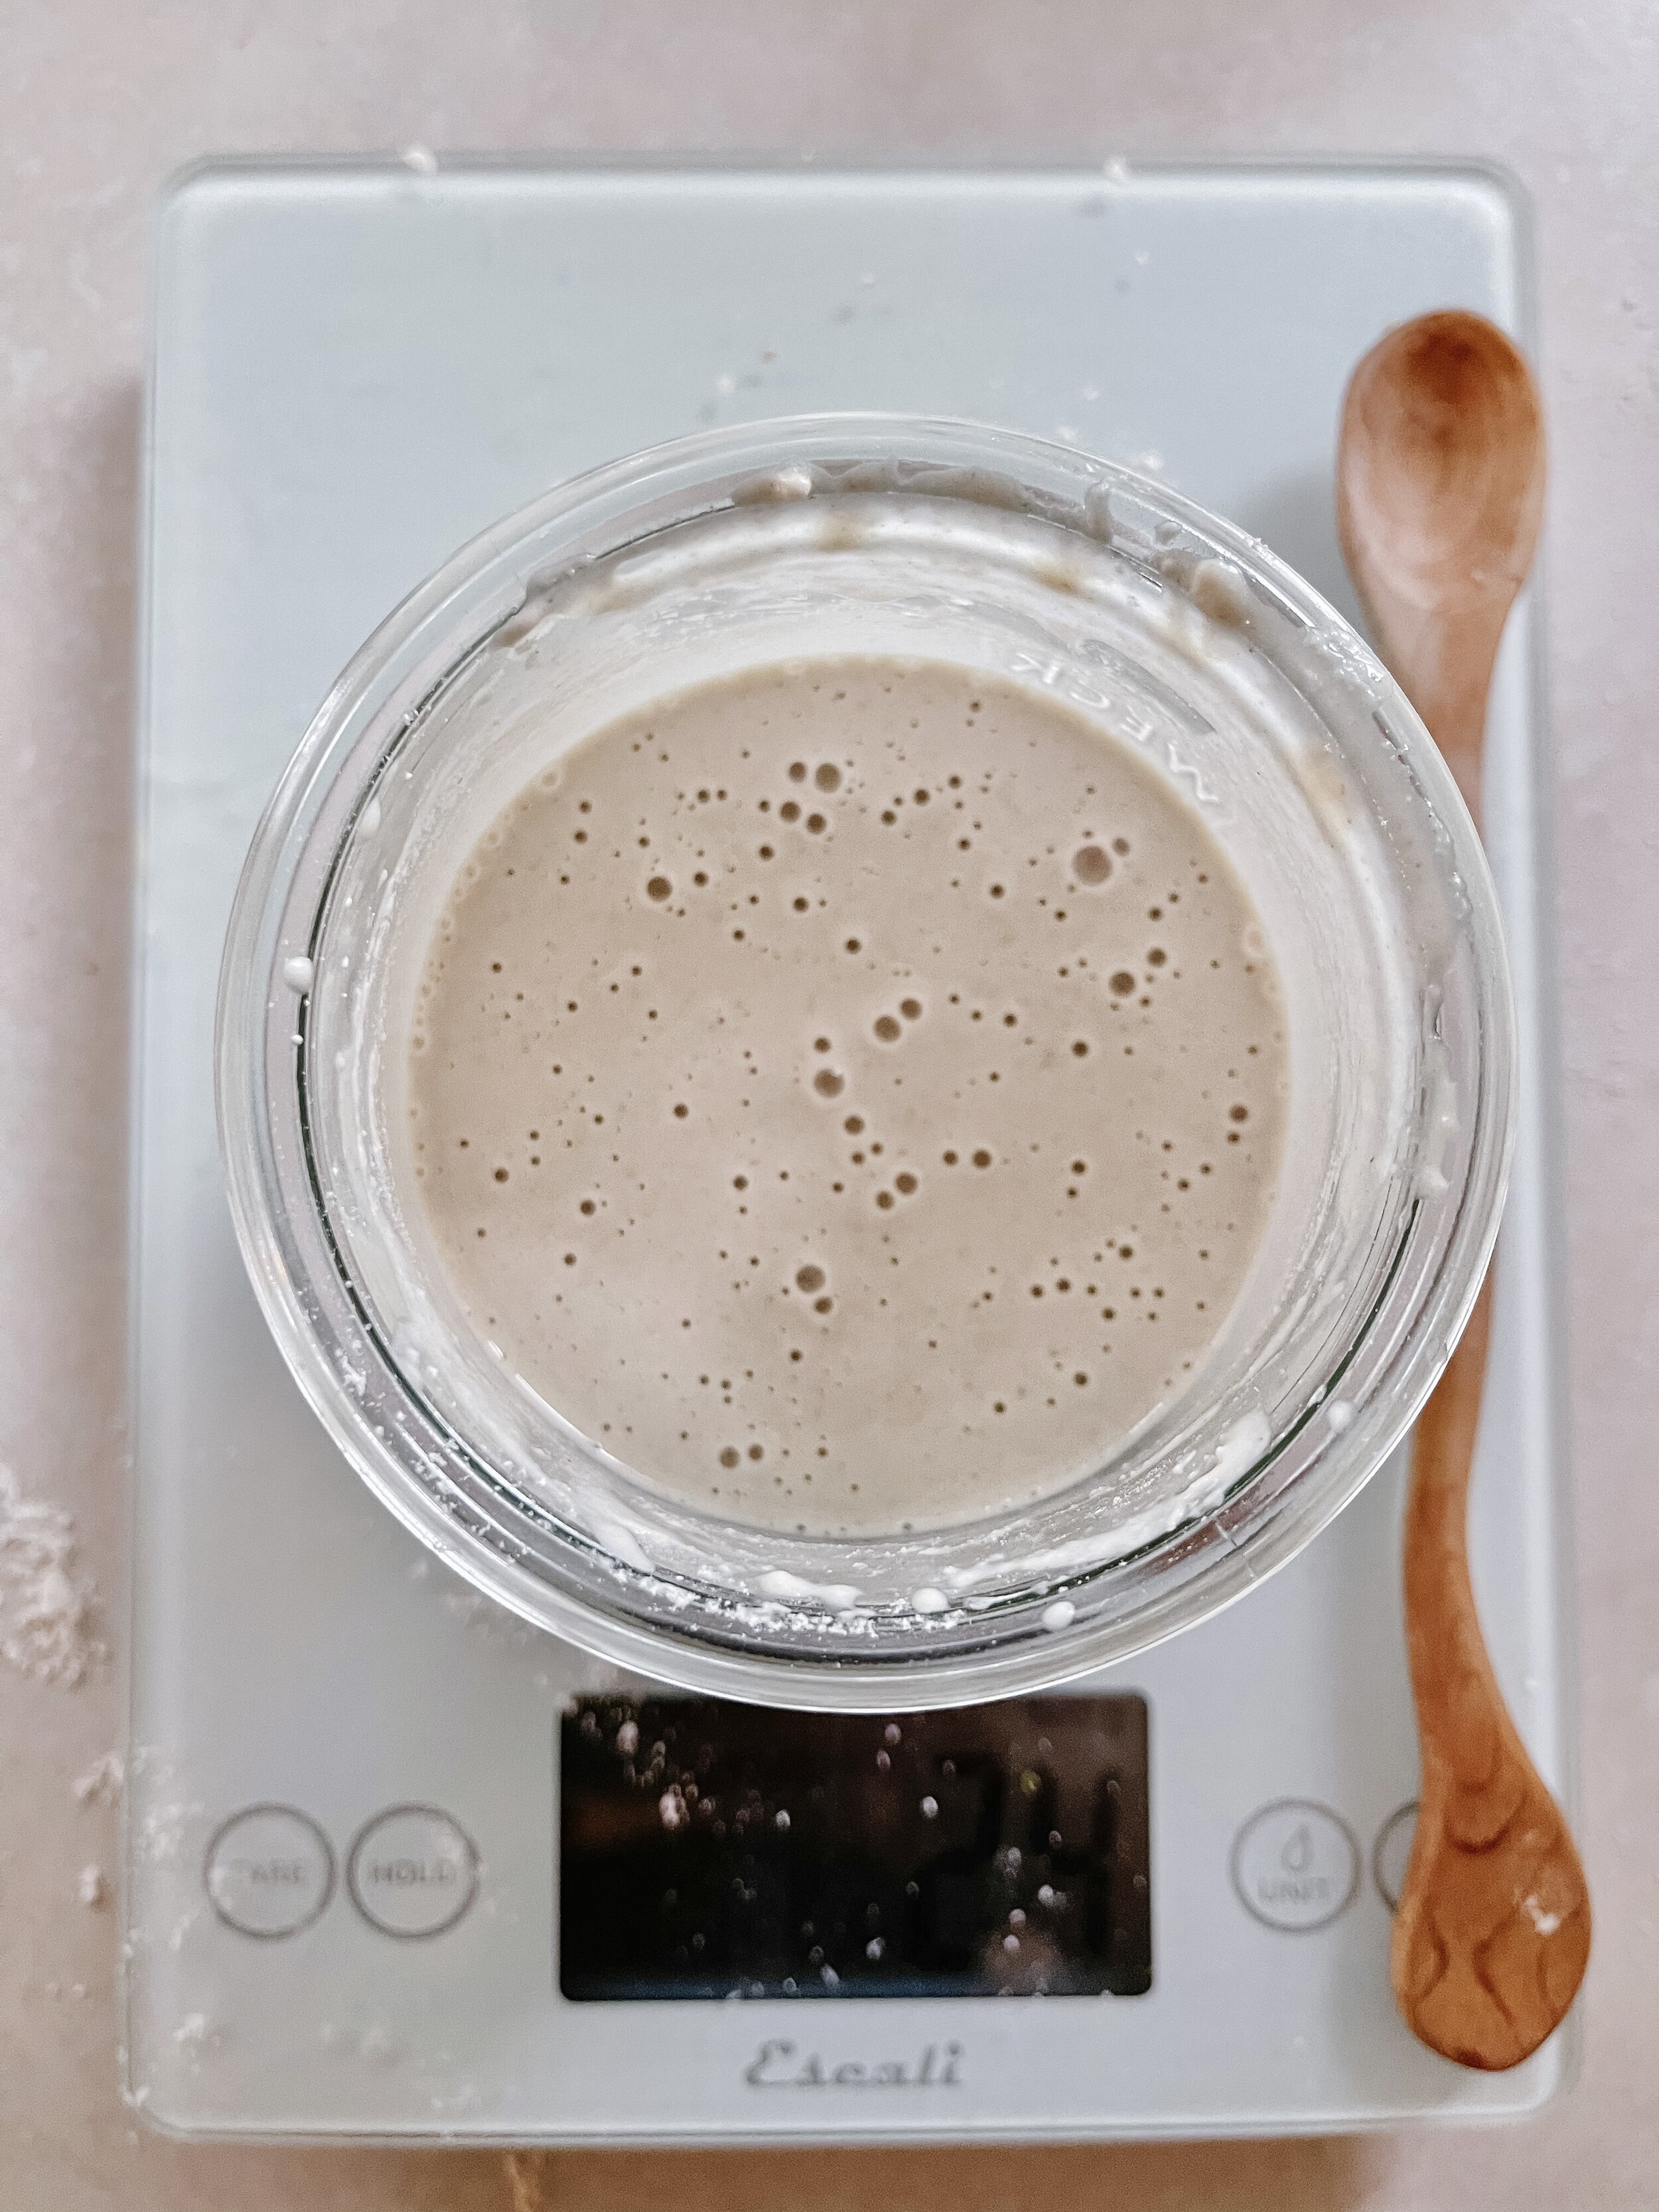
MORNING OF DAY 6: A lot of larger bubbles and over all the starter is looking light and fluffy, there is little-to-no surface liquid and the smell is not sour but a subtle mild scent.
EVENING OF DAY 6: Large bubbles that are distributed well throughout a light and fluffy starter, you should be able to hear the activity of the bubbles, there is no surface liquid, and the smell is still mild.
MORNING/EVENING OF DAY 7: Bubbles are still large and distributed plentifully throughout the starter, the bubbles are making some noise, the aroma is mild - You’re ready to make your levain then bake your bread! If your starter is indeed ready to go, but you can’t find the time to bake with it, you can transfer it to the fridge until you’re ready. However keep in mind that once you are ready to bake with it, you will need to feed it and let it sit somewhere warm until it’s at room temperature. Here is another resource that speaks more in depth about keeping sourdough culture alive while you’re away or unable to bake bread.
Note that this is just a guideline. There are no set rules! If you forget to feed your starter at night, then just feed it in the morning as you make coffee. You will eventually get into an easy routine. Store the starter in the fridge and feed it a couple of times a week if you are not baking. It can even be left in the fridge for a few weeks with a tight fitting lid.
The levain
Building the levain takes one full day with three feedings. You should ultimately end up with 380 g of levain to use in your final dough.
INGREDIENTS
25 G starter (see instructions above to make this)
180 G Anita’s Organic Gluten Free All Purpose Flour
175 G non-chlorinated warm water
INSTRUCTIONS
MORNING: In a clean jar add 25 g starter, 30 g Anita’s Organic Gluten Free All Purpose Flour, and 30 g non-chlorinated water.
NOON: Feed previous feeding 85 g starter with 50 g Anita’s Organic Gluten Free All Purpose Flour, 50 g warm water.
EVENING: Feed the starter from the previous feeding with 100 g Anita’s Organic Gluten Free All Purpose Flour, and 95 g water.
The sourdough
INGREDIENTS
30 g ground pumpkin seeds
15 g ground sunflower seeds
280 g water
12 g ground flax seed
16 Whole psyllium husk
2 tbsp olive oil
310 g Anita’s organic gluten free all purpose flour
15 g brown sugar
15 g maple syrup
1.5 tsp salt
1 tsp crushed caraway seeds
INSTRUCTIONS
Blitz the pumpkin and sunflower seeds in a magic bullet or similar appliance.
In a bowl, weigh out the flour, brown sugar, salt and caraway seeds and add in the seed flour.
In another bowl add the warm water, syrup and oil. Sprinkle the psyllium husk on top of the water and whisk immediately to prevent lumps forming. Add the levain to the water mixture, stirring to combine, then pour the wet ingredients into the flour.
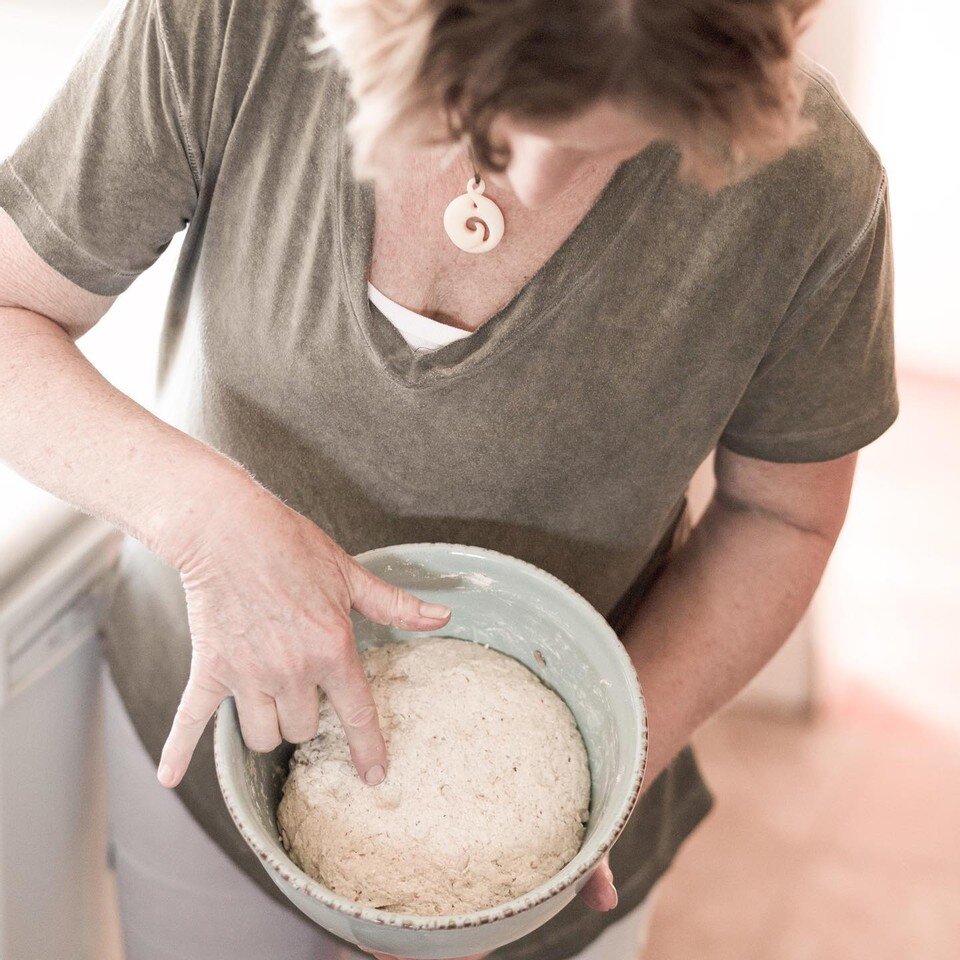
Mix well by hand or use a kitchen mixer with a dough hook.
FERMENT: form the dough into a ball, place it into a covered bowl and rest in a warm location, until the dough just begins to rise. Place the covered bowl into the fridge, overnight for the bulk ferment.
SHAPE: the next day remove the dough from the fridge and leave it at room temperature until it has warmed enough to work with. Tip the dough out onto a lightly dampened surface. Knead with wet hands until it is somewhat smooth and then use a little white rice flour to finish. Place the dough into a benetton or tea towel lined bowl, dusted with white rice flour.
PROOF: place the dough (still in the banneton) and inside a plastic bag. Rest at room temperature until it has risen, feels puffy, spongy and soft on the sides and in the centre. It is easy to overproof gluten free doughs.
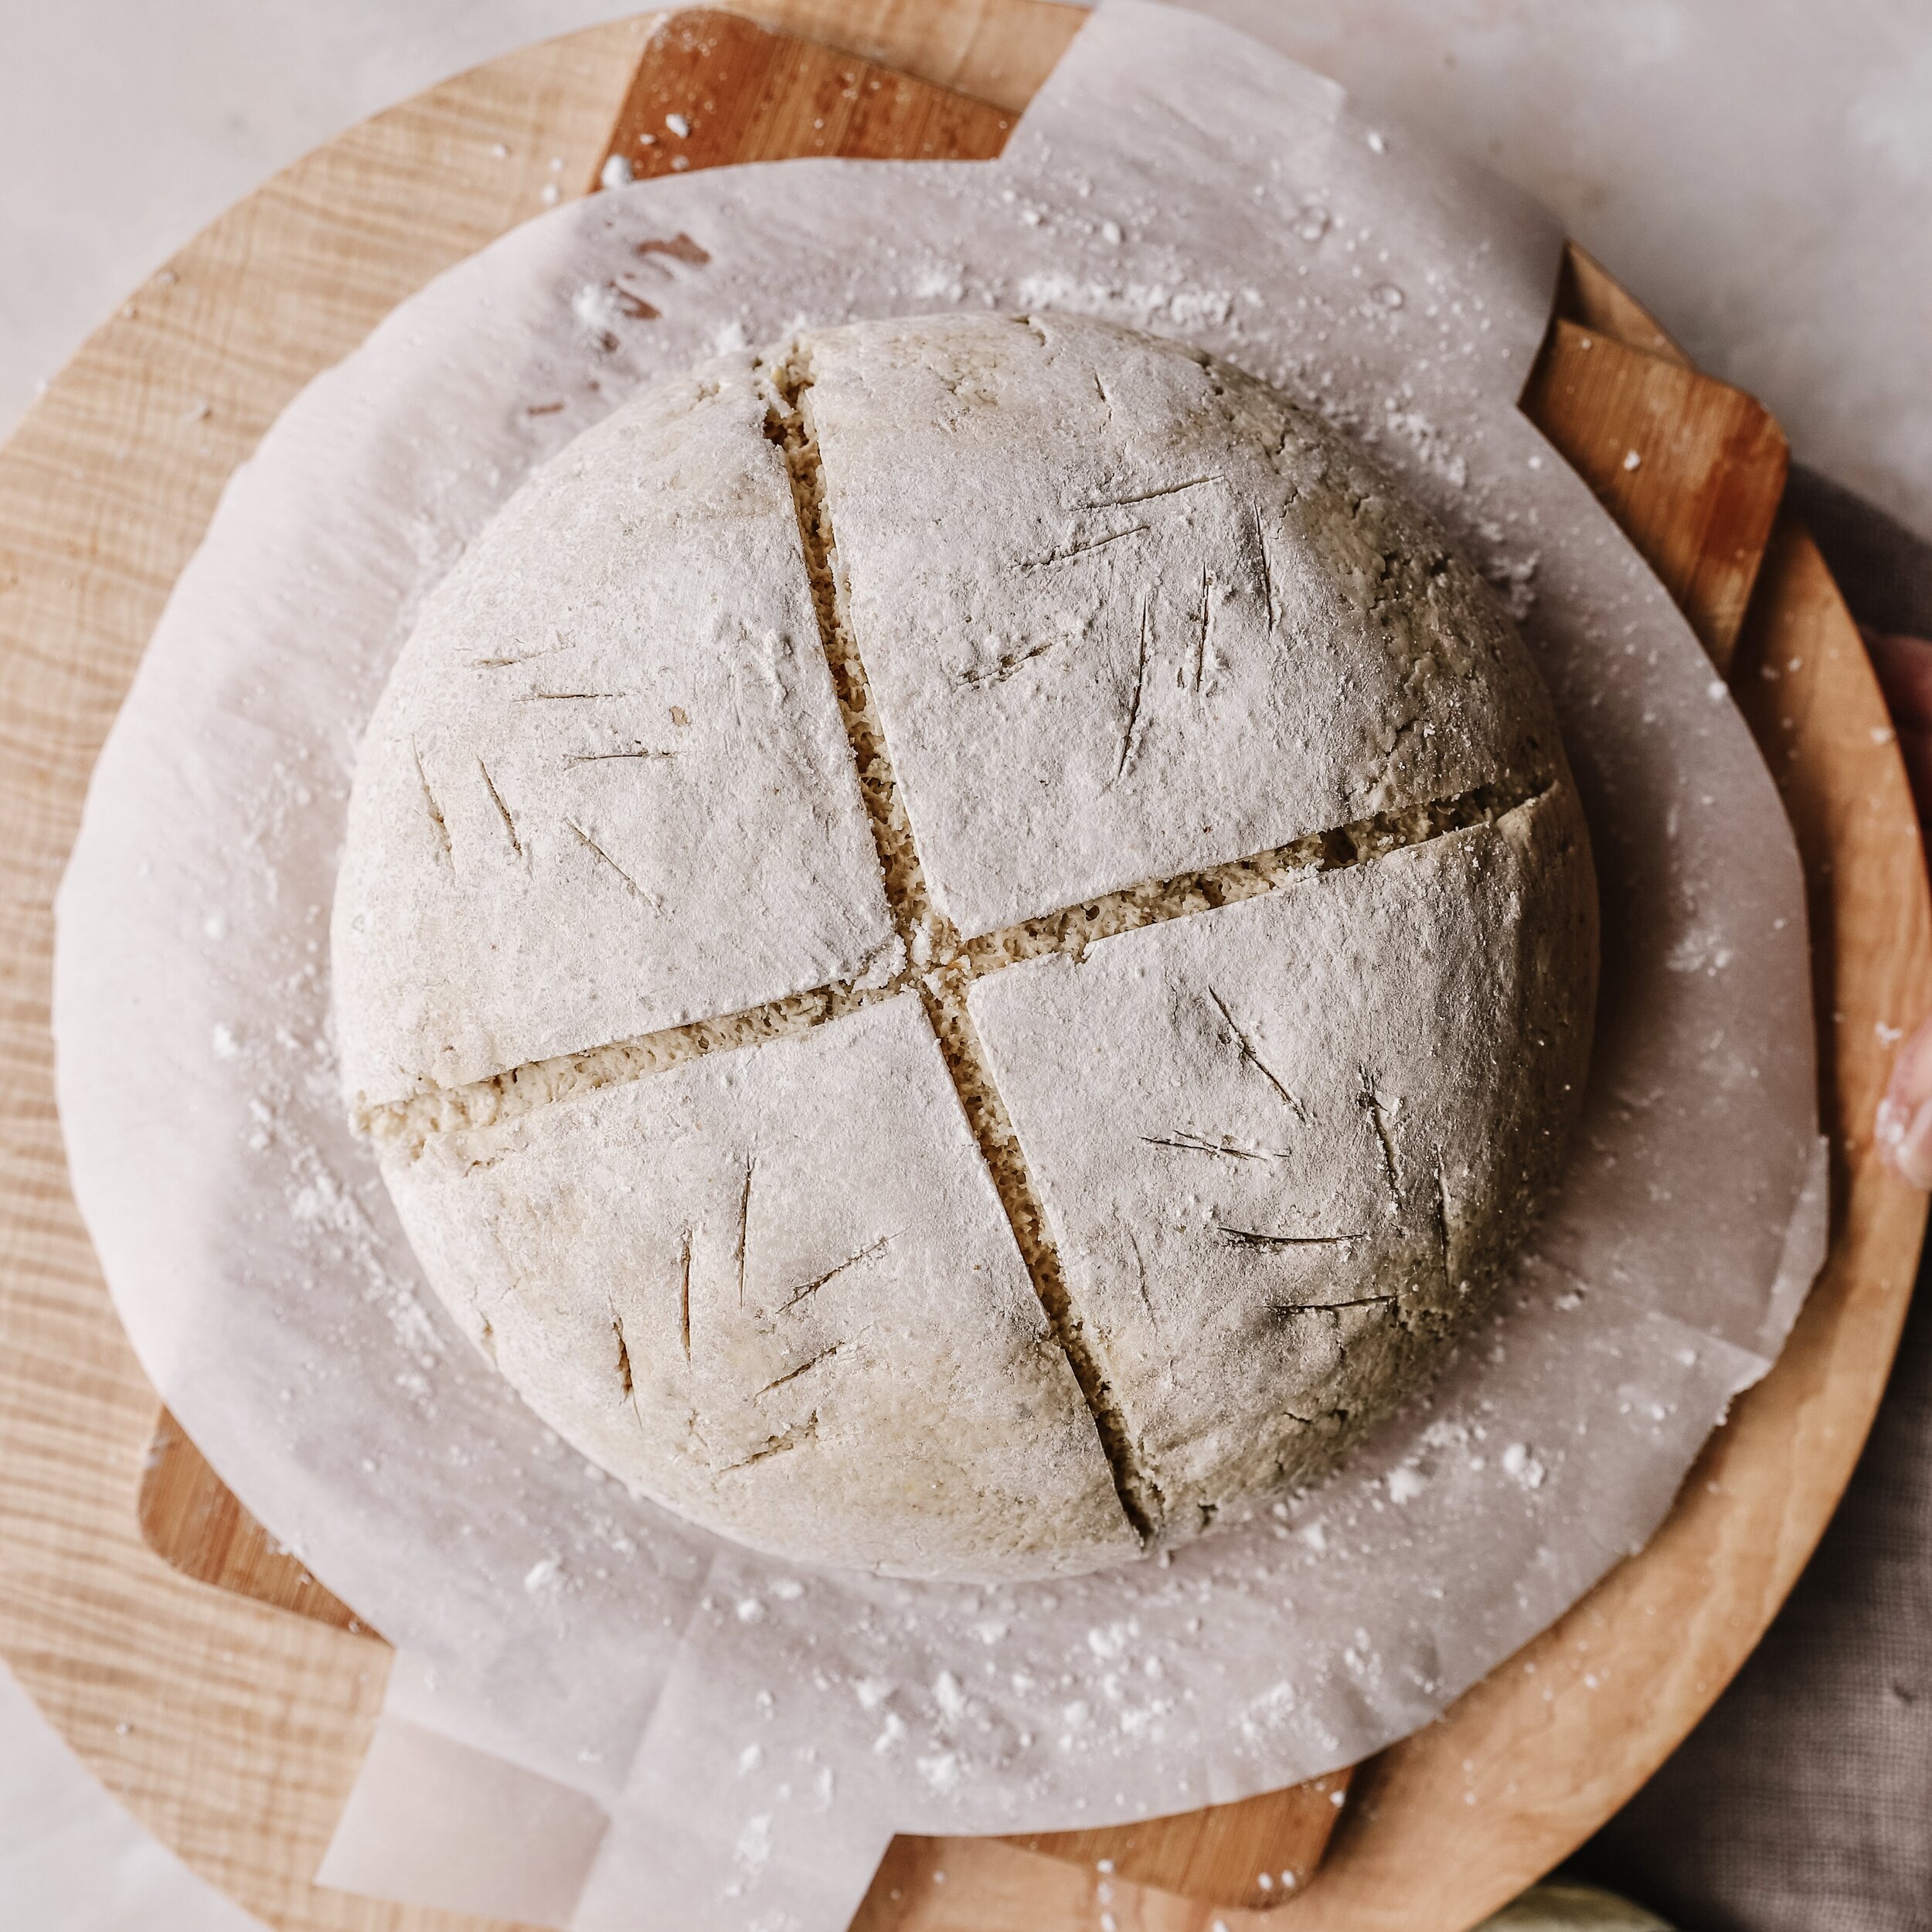
SCORE: preheat a dutch oven to 450°f (232°c).While the oven is heating, cut out some parchment paper for the dough to sit on. Lightly wet the dough with water, dust some white rice flour on the top and score a pattern.
BAKE: gently slide the paper with the dough into the dutch oven. Cover and bake for 25 minutes to steam the bread. Reduce the heat to 400°f (200°c), remove the lid to allow the loaf to brown and cook uncovered for 25-30 minutes, or until the loaf sounds hollow and is not soft and under-baked. Place the hot sourdough on a wire rack for a few hours, to cool before slicing.
