Challah Guide
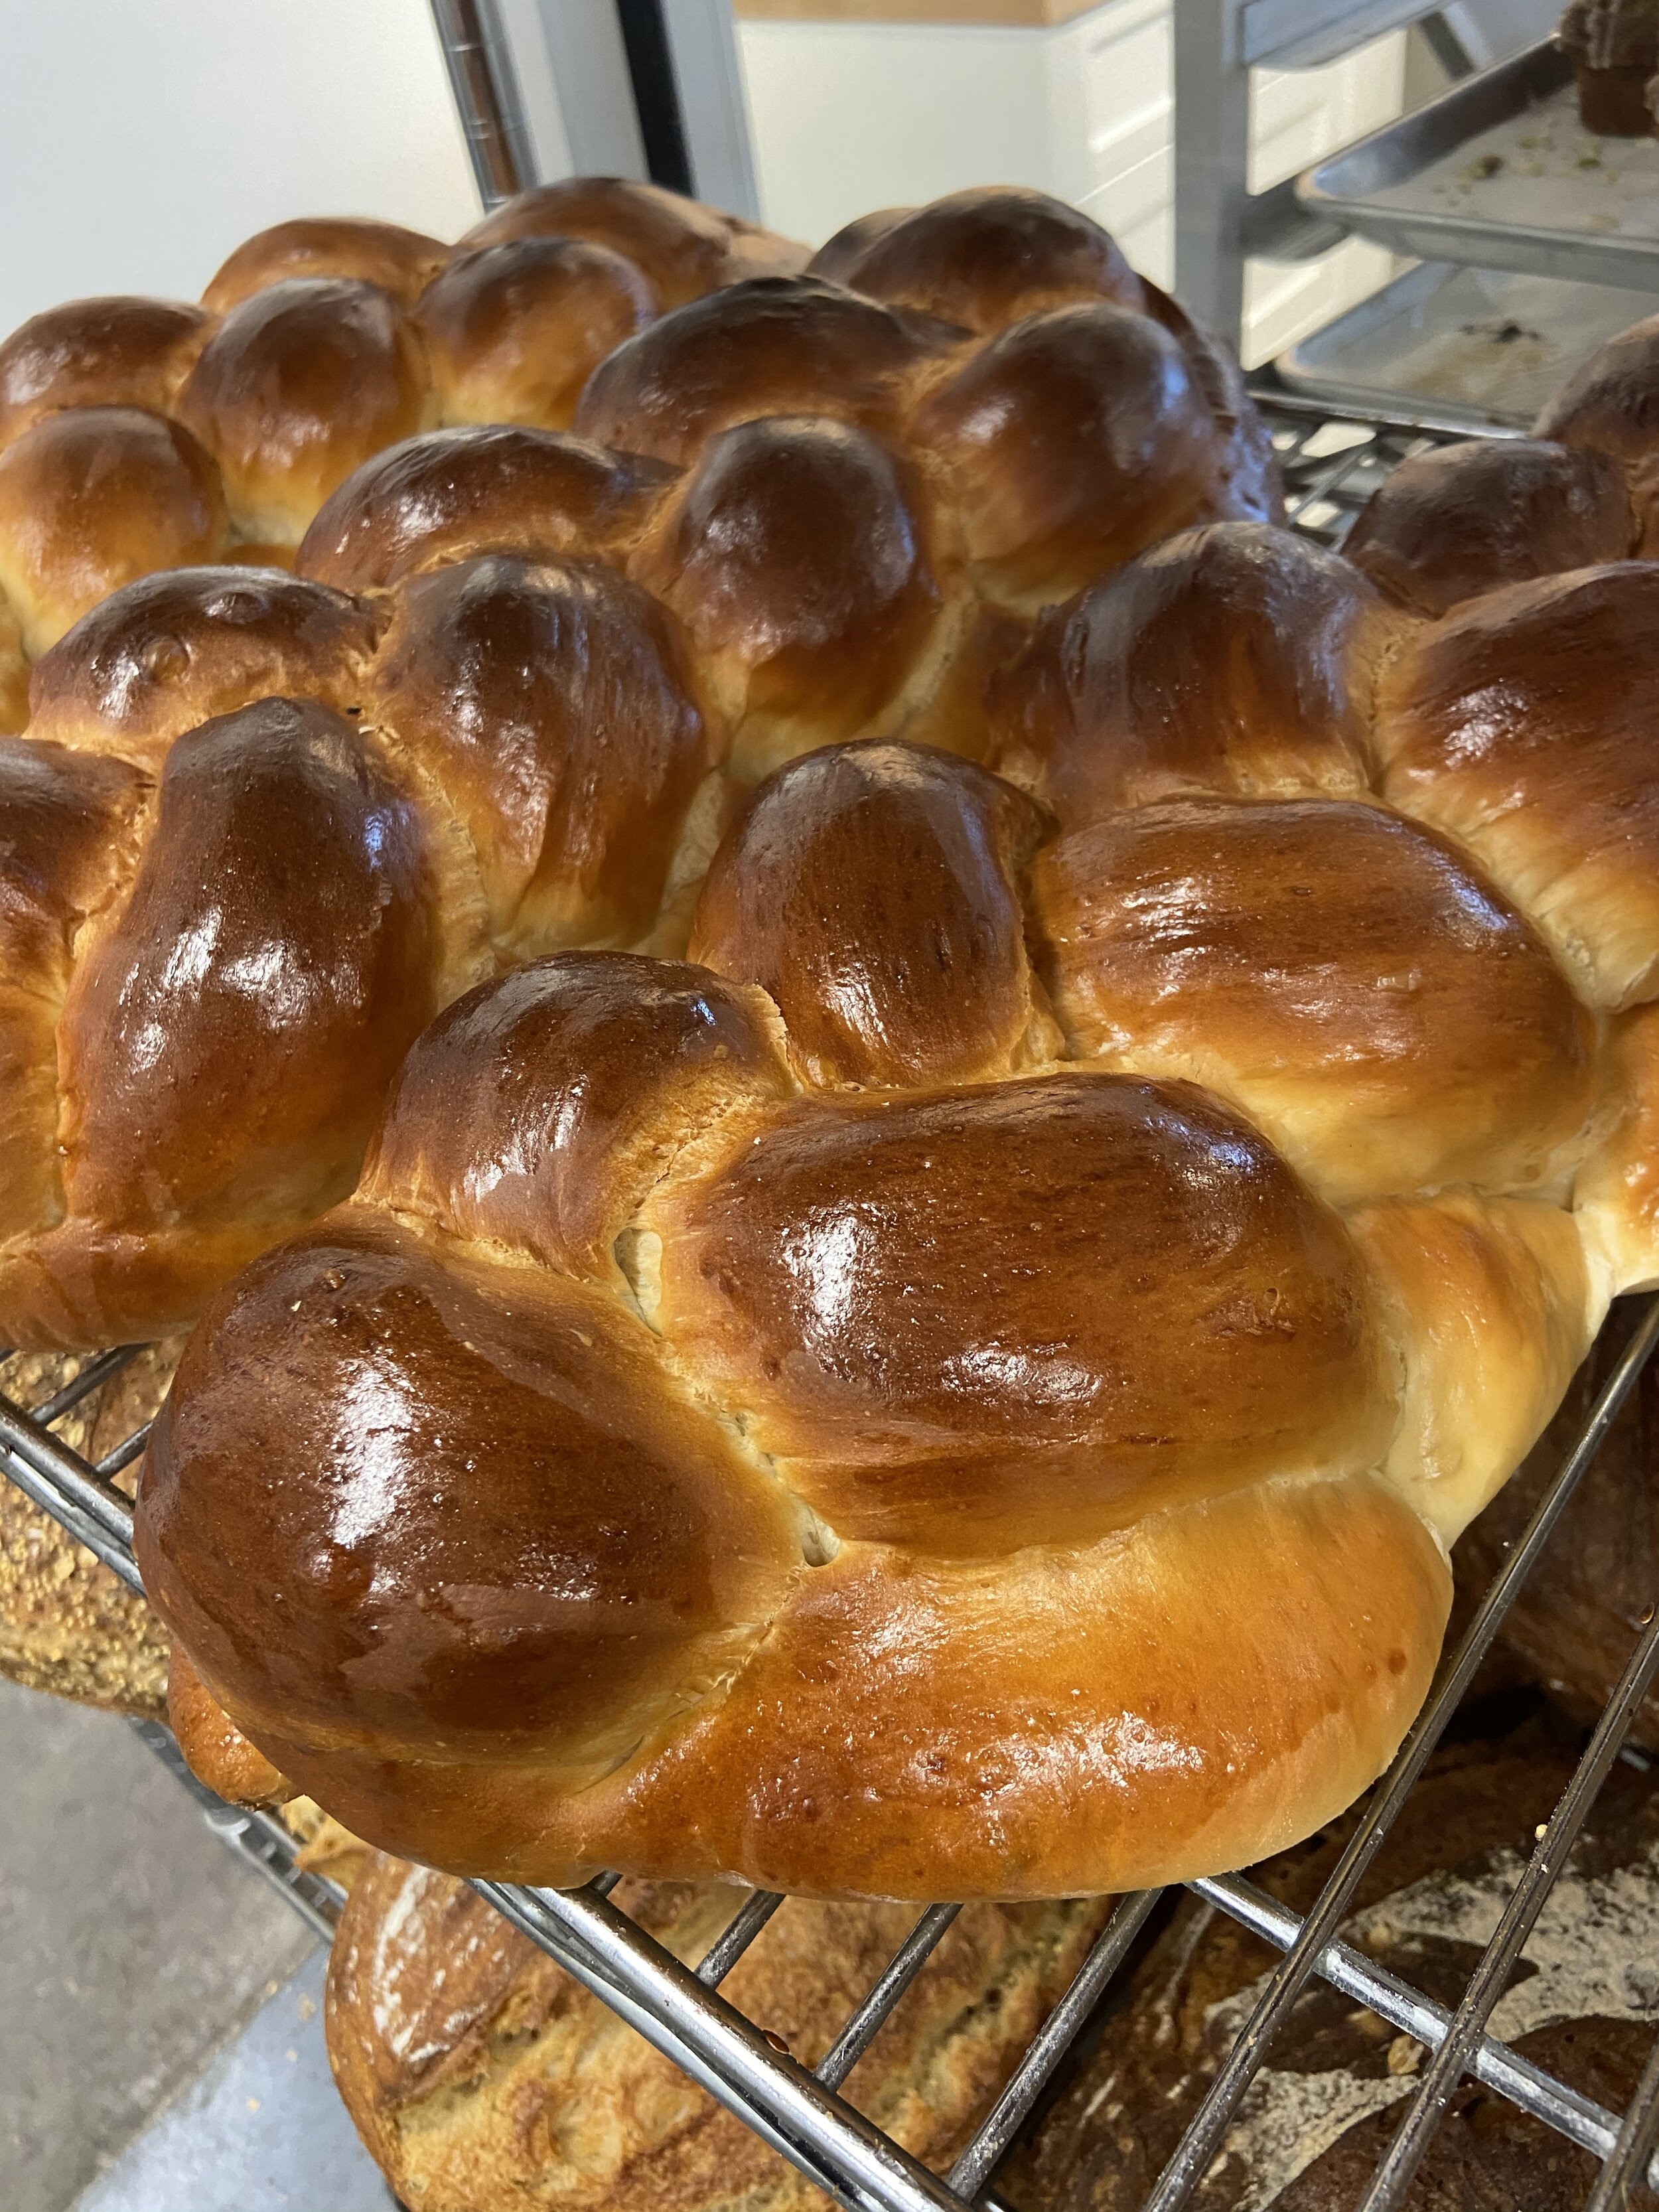
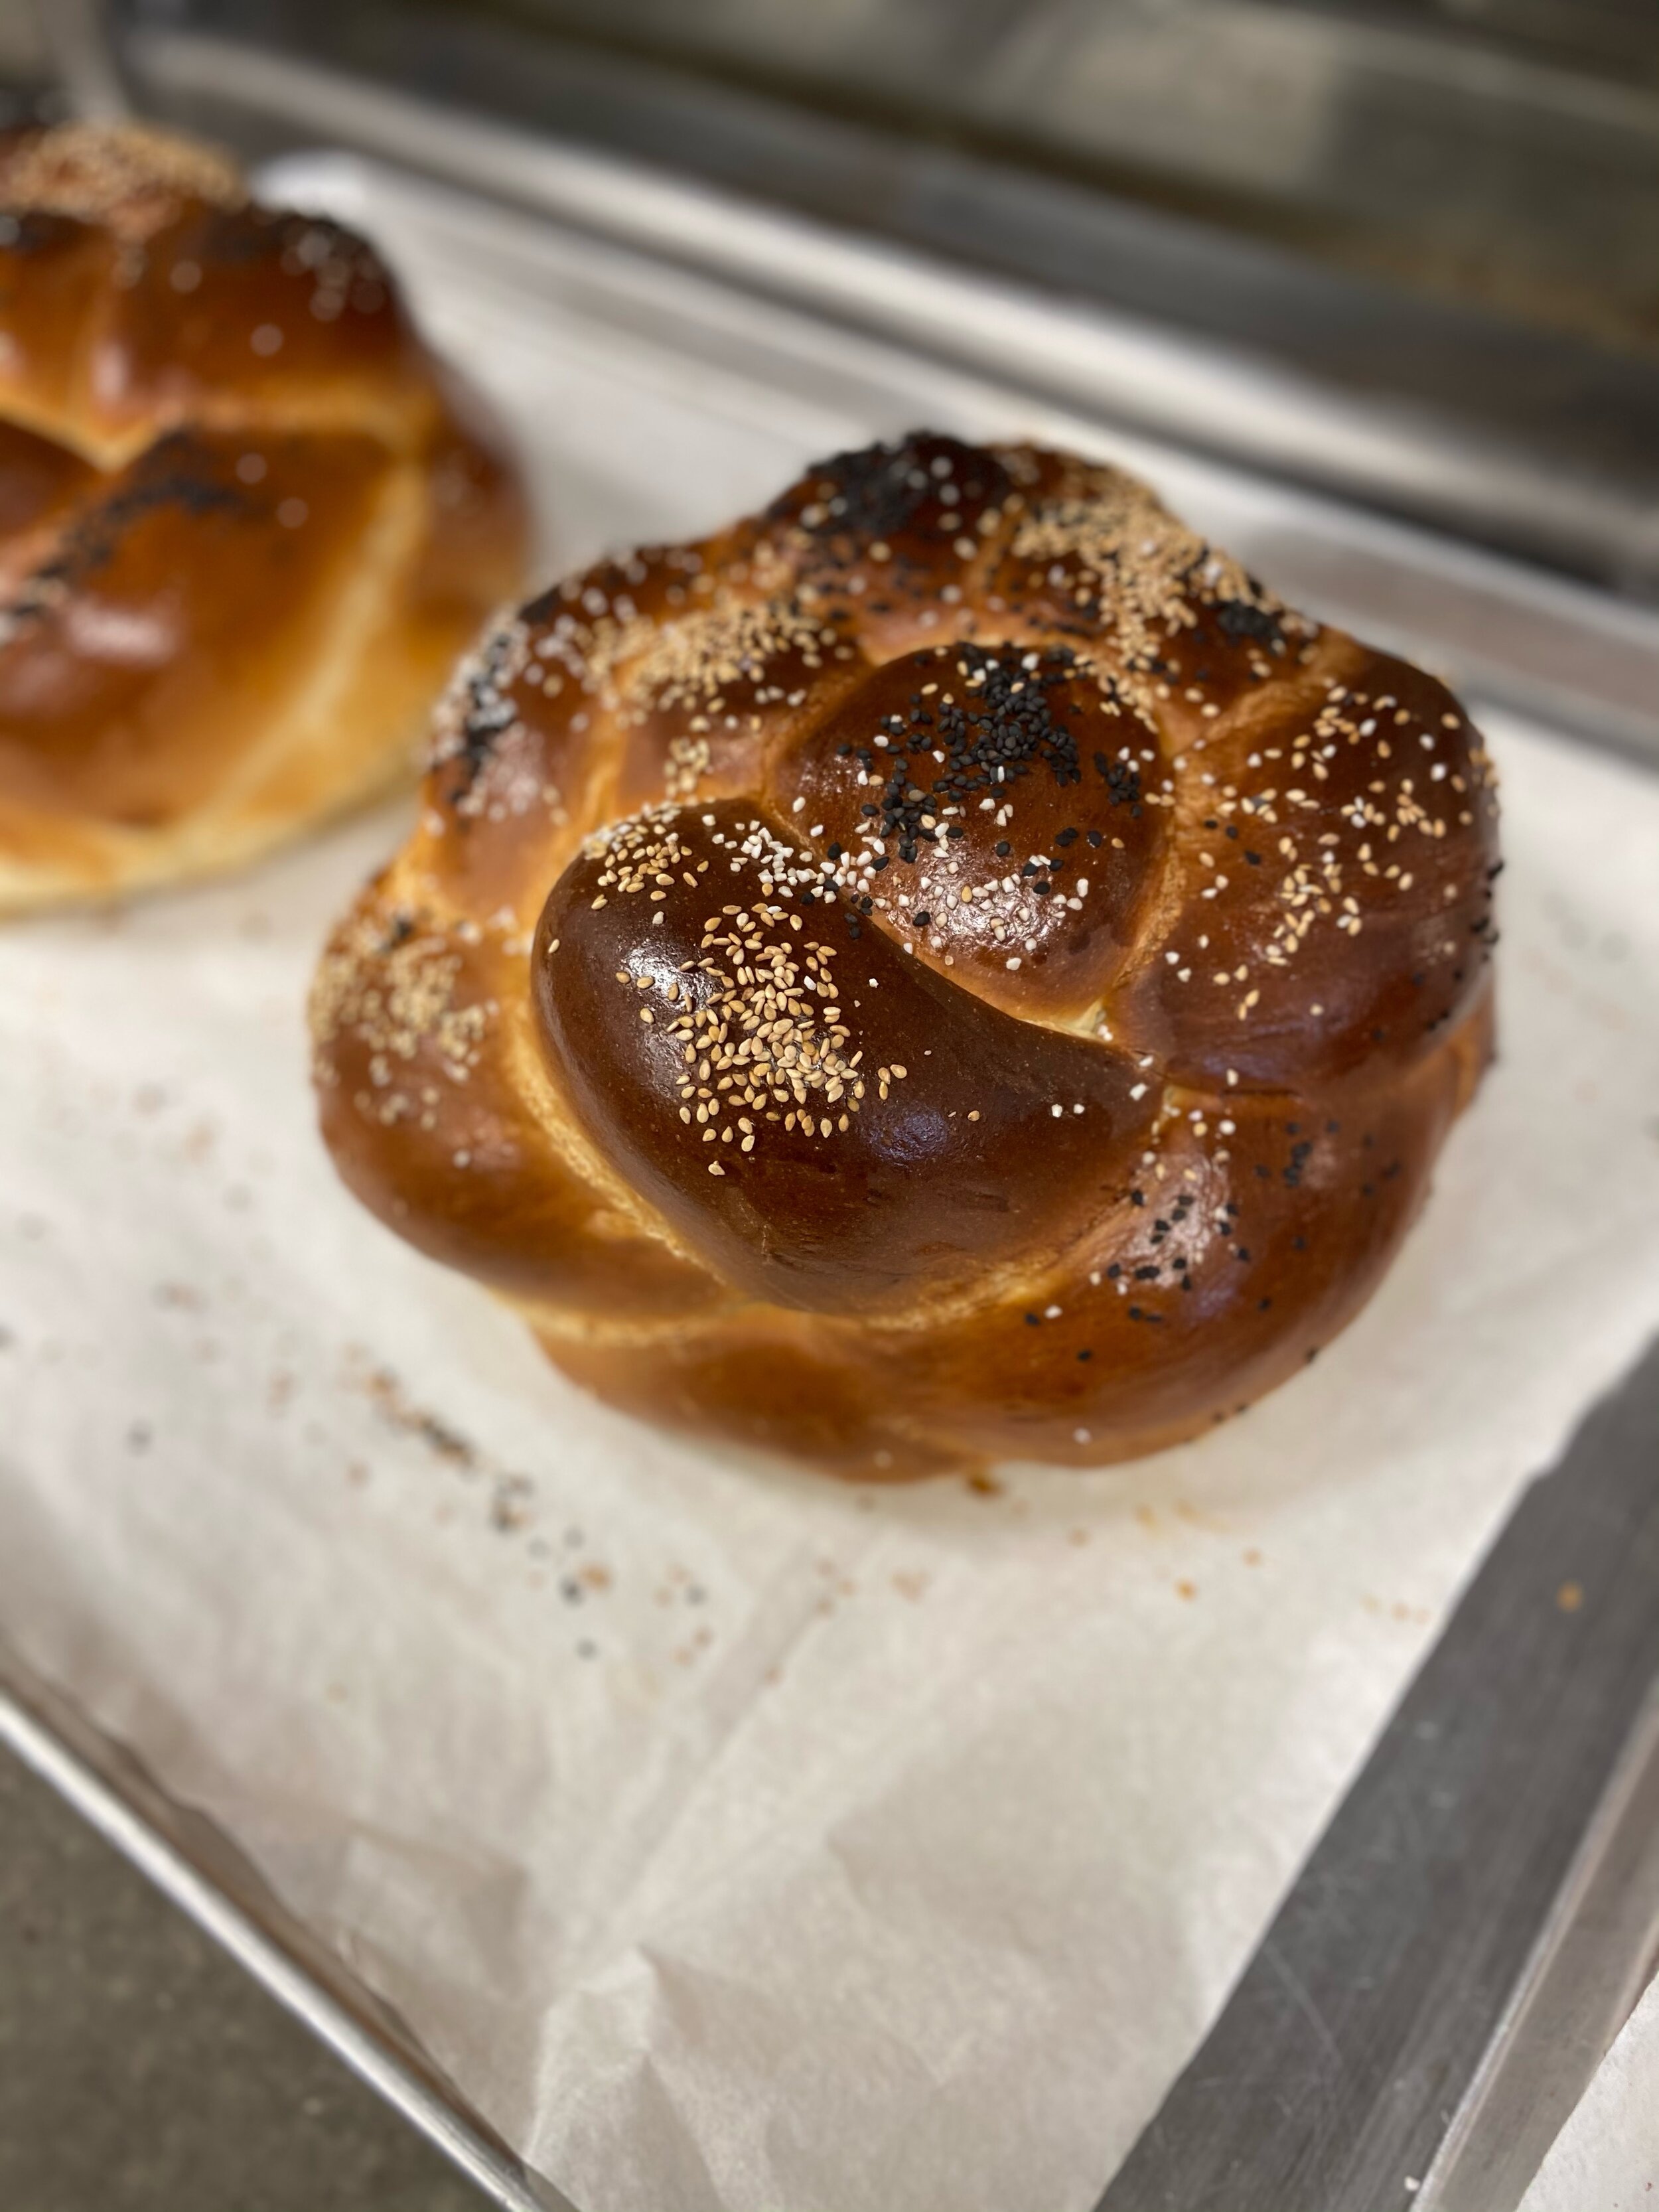
The taste of challah is very similar to brioche — golden, rich and fluffy with a hint of sweetness. A staple of Jewish culture, it is a great, versatile bread to accompany any meal! Thank you to our friend Matthew James Duffy for sharing this recipe and Guide with us!
What is Challah?
Challah is a special bread in Jewish cuisine. It is typically braided and eaten every Friday on the Jewish Sabbath, and on major Jewish holidays (except Passover). On these occasions, a blessing is said over two loaves of challah to symbolize the two portions of the manna bread that was given to the children of Israel on Fridays during their exodus from Egypt. The braided strands symbolize the intertwining of love, truth, peace and justice. Traditionally topped with seeds or a sweet crumble, it is a very simple and delicious bread to make. Our favourite thing is to turn leftover challah into a wonderful French toast for brunch the next morning!
5 Steps for the Beginner Baker
MIXING: This dough can be mixed by hand or on a stand mixer. For an enriched dough like challah, the dough can be mixed until full development. This means you do not need to do any folds or knead the dough after the initial mixing. You will know the dough is mixed enough when you have a smooth dough surface. On a machine this can take about 5-6 minutes and by hand 8-10 depending on your technique.
BULK FERMENTATION: This is the step where your dough is allowed to rise. In this step fermentation produces acids and carbon dioxide. The organic acids help give the dough flavour and strength, while the carbon dioxide helps with volume and airiness. While this step is relatively hands off, it is useful to check in on your dough to make sure everything in on the track for a successful bake.
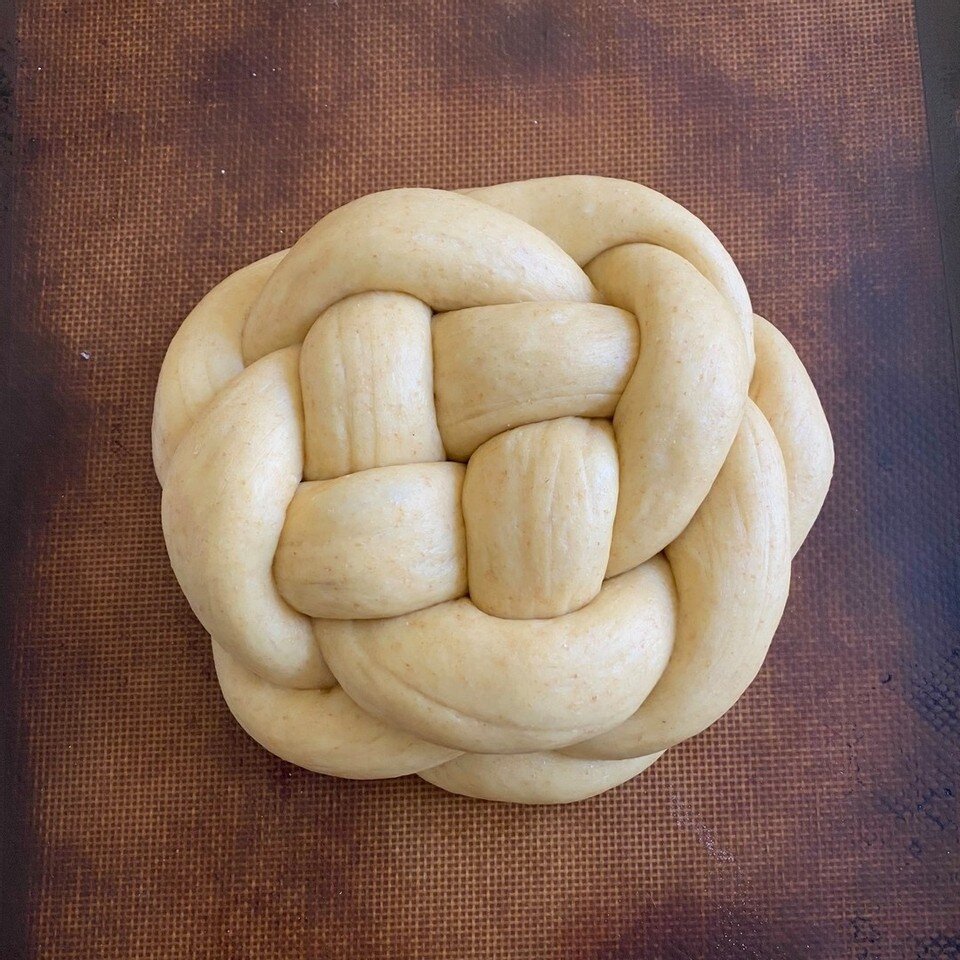
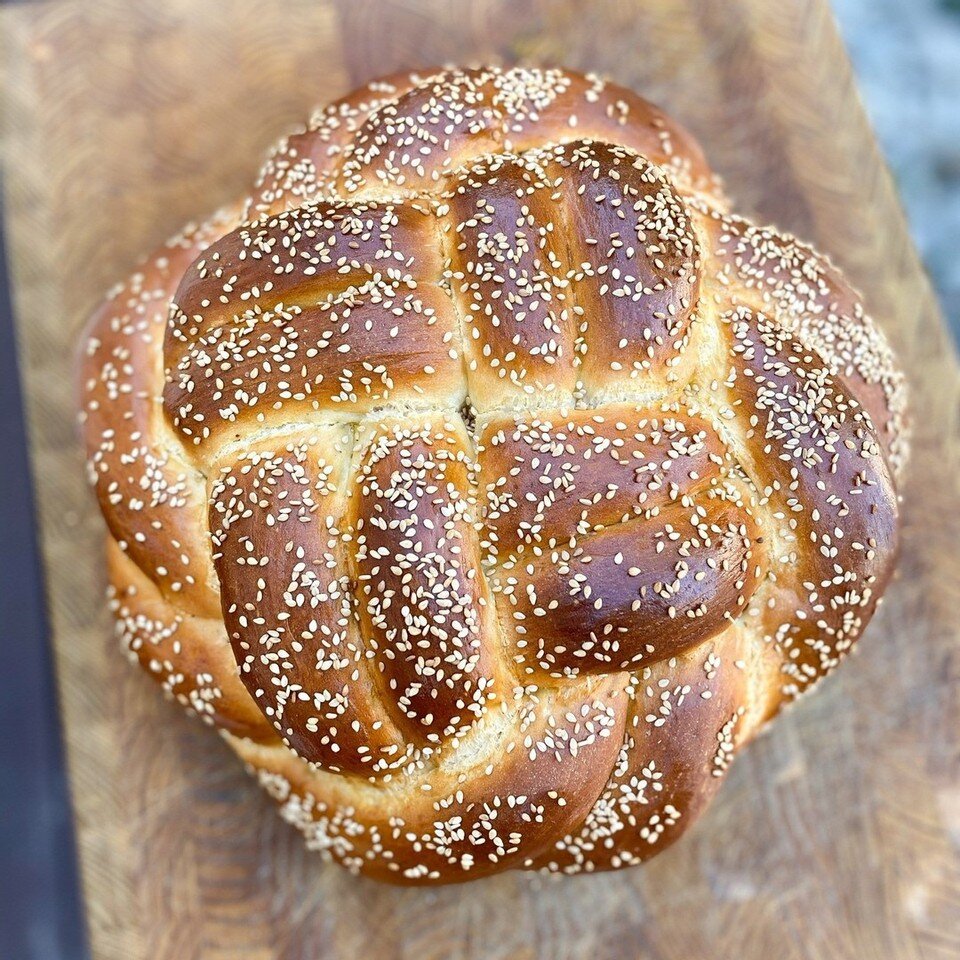
SHAPING: This is technically two steps. Pre-shape and final shape. First the dough is given a pre-shape to help realign the gluten and help the loaf takes its final form. The final shape for challah can vary depending on what type of loaf you are making. To name a few: the crown, the 8 strand crown, the twist, and the round braid.
FINAL PROOF: Judging when to finish the final proof takes time and repetition. This time can vary based on your dough temperature and ambient (house) temperature. This challah typically takes around 90 minutes to be oven ready. Signs that the dough is ready for the oven are that it has risen significantly in volume, is light to the touch, and springs back but leaves a slight indent when you press it.
BAKING: All ovens are different. The more you use your oven the better you will understand it. A good starting point is to bake your challah for about 30 minutes at 190°C / 375°F degrees. Check the challah after 20 minutes to make sure the colour isn’t getting too dark. Often home ovens heat from the bottom resulting in burnt bottoms, but a quick fix is to use two sheet pans when baking your challah (by stacking one onto the other). The bottom sheet-pan will help defuse the heat and prevent the challah from burning.
What You’ll Need
Stand mixer
2 large sheet pans or trays
Unscented bag (for covering the dough while it rises)
Small bowl and brush
Ingredients
For the dough
819g Anita’s Organic All Purpose Flour
91g Anita’s Organic Spelt or Whole Wheat Flour
410g water
12g yeast, active dry
107g ripe levain
15g salt
2 whole eggs
107g sugar
77g olive oil
For the egg wash and toppings
1 large egg
1 tablespoon water
Pinch of fine salt
Sesame seeds, poppy seeds, or other topping
Instructions
MAKE THE DOUGH:
Pour the water into the bowl of a stand mixer fitted with the bread hook. Sprinkle the yeast into the water and use your fingers to rub and dissolve it. If using, add the levain and lightly mix it into the water. Add the flour, eggs, sugar, salt, and oil.
Mix the dough on low speed to combine the ingredients, stopping the mixer if the dough climbs up the hook or if you need to work in dry ingredients that have settled on the bottom of the bowl. Scrape the bottom and sides of the bowl as needed. It should take about 2 minutes for the dough to come together. If there are lots of dry bits in the bottom of the bowl that just aren’t getting worked in, add a tablespoon or two of water.
[Note: Eventually you’ll be able to feel the dough and know if you need to add water or flour; it’s always better to adjust the ratios when the dough is first coming together at the beginning of mixing rather than wait until the end of the kneading process, since it takes longer for ingredient additions to get worked into the dough mass at this later point and you risk overworking the dough.]
Increase the speed to medium and knead until a smooth dough forms, about 4 minutes. You want the dough to be a bit firm.LET THE DOUGH RISE:
Lightly oil a bowl, add the dough and cover the bowl with plastic wrap. Set the bowl aside at room temperature until the dough has risen by about 60%, about 60-90 minutes (this will depend on how warm your room is—when the dough proofs in a warmer room it will take less time than in a cooler room).
Note: It is best not to use any flour when dividing and shaping as the flour will make it harder to develop tension while shaping.DIVIDE THE DOUGH:
Use a dough scraper to gently lift the dough out of the bowl and transfer it to a work surface (take care not to press out the trapped gas in the dough). Gently pull the dough into a rectangular shape. Using a bench scraper divide the dough in half. Set aside one half for the second challah (keep covered). Take the half that you are using for your first challah and divide each piece into 3 smaller equal parts.PRE-SHAPE AND SHAPE THE DOUGH:
Set a piece of dough lengthwise on your work surface. Use the palm of your hand to flatten the dough into a flat rectangle; then fold the top portion over and use your palm to press the edge into the flat part of the dough. Fold and press 3 more times—the dough will end up as a cylinder about 10-12cm long. Set this piece aside and repeat with the other 2 pieces.
Allow the dough to rest for 10-15 minutes covered.
Return to the first piece of dough and use both hands to roll the cylinder back and forth to form a long rope, pressing down lightly when you get to the ends of the rope so they are tapered. The rope should be about 55-60cm / 21-24 inches long with tapered ends. Repeat with the remaining 2 cylinders. Lightly flour the long ropes (this allows for the strands of the braid to stay somewhat separate during baking; otherwise, they’d fuse together).
Pinch the ends of the 3 ropes together at the top. Braid the dough, lifting each piece up and over so the braid is more stacked than it is long; you also want it to be fatter and taller in the middle, and more tapered at the ends. When you get to the end of the ropes and there is nothing left to braid, use your palm to press and seal the ends together.
Note: For a 3-braid challah: Number the positions 1,2,3. The POSITIONS and NOT the strands themselves. Place 1 over 2 then 3 over two. Repeat this process all the way down the dough.
Place the challah on parchment paper–lined rimmed sheet pan, cover with a kitchen towel (or place inside an unscented, reusable plastic bag but don’t let the bag touch the dough), and set aside in a warm, draft-free spot to rise until the loaves have doubled in volume, about 90-120 minutes (depending on how warm the room is).
Adjust the oven racks to the upper-middle and lower-middle positions and preheat the oven to 190°C/375°F.
Repeat this process with your second challah dough, and feel free to use the same braiding technique or explore different braid-types.TEST THE DOUGH:
Once the challah loaves have roughly doubled in size, do the press test: Press your finger lightly into the dough, remove it, and see if the depression fills in by half. If the depression fills back in quickly and completely, the dough needs more time to rise; if you press the dough and it slightly deflates, the dough has overproofed and will be heavier and less airy after baking.BAKE THE LOAVES
Make the egg wash by mixing the egg, water, and salt together in a small bowl. Gently brush the entire surface of the loaves with egg wash, taking care not to let it pool in the creases of the braids. You want a nice thin coating. Generously sprinkle the loaves with the seeds if desired.
Bake for 30 minutes. Remove the loaves from the oven and set aside to cool completely on the sheet pan.
Note: If it is your first-time baking challah at home, make sure to check the loaf after 20 minutes. All ovens are different and temperatures/times may need some adjustment.


